
Here is an excellent open source software package for everyone who wants to self-host a simple file sharing cloud service. Perhaps you need a file sharing system for personal use, for your family or for a small team, but above all, you want a fast and easy to use system that is also easy to set up and manage. The program that matches these requirements is called Xbackbone. Here is how to set it up, and how you might use it.
Before I show you how to install and configure Xbackbone, I should tell what you can do with it, and what it can’t do for you.
This is what you can do with Xbackbone:
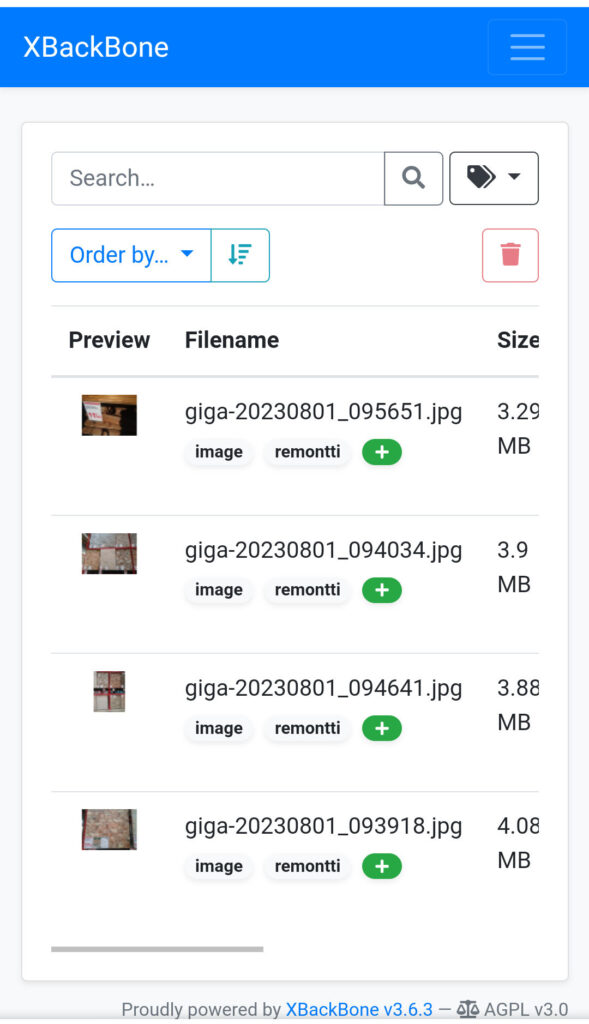
- A web browser is the only app you need for uploading and downloading files, and for all other functions. You don’t need any additional apps for your phone or tablet, since the browser does it all.
- Saving files to the cloud server, and downloading them is very fast and easy.
- Files saved in the cloud can be shared with people who have an account in the system, and also with people who don’t have an account.
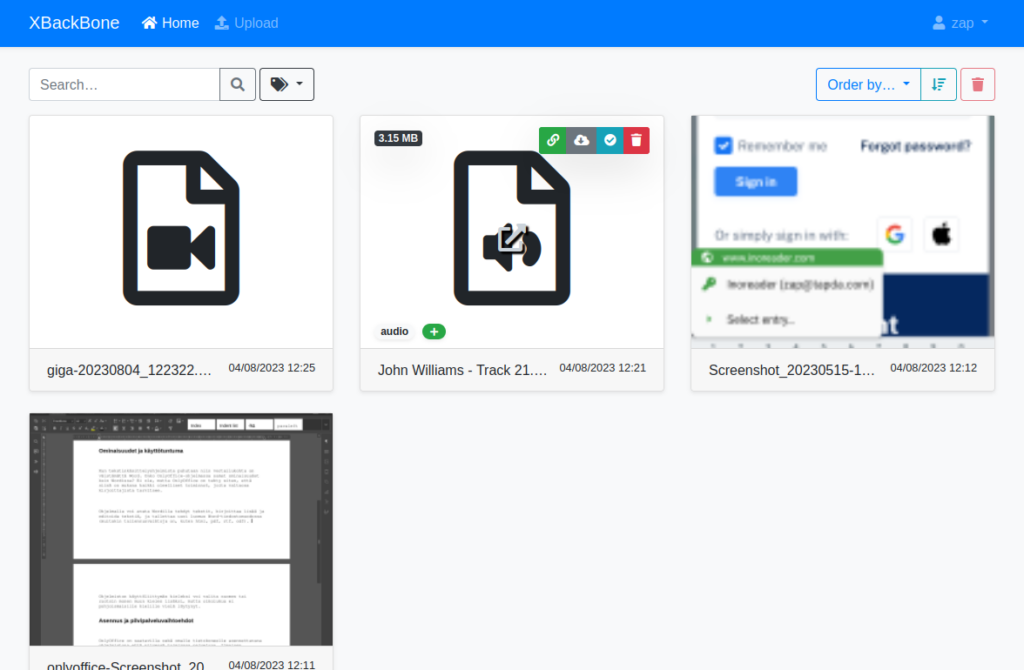
- Files can be tagged with keywords automatically and by the user.
- Files can be searched by name (any characters in the name) and by tags.
- Common file types can be viewed or listened to without downloading them.
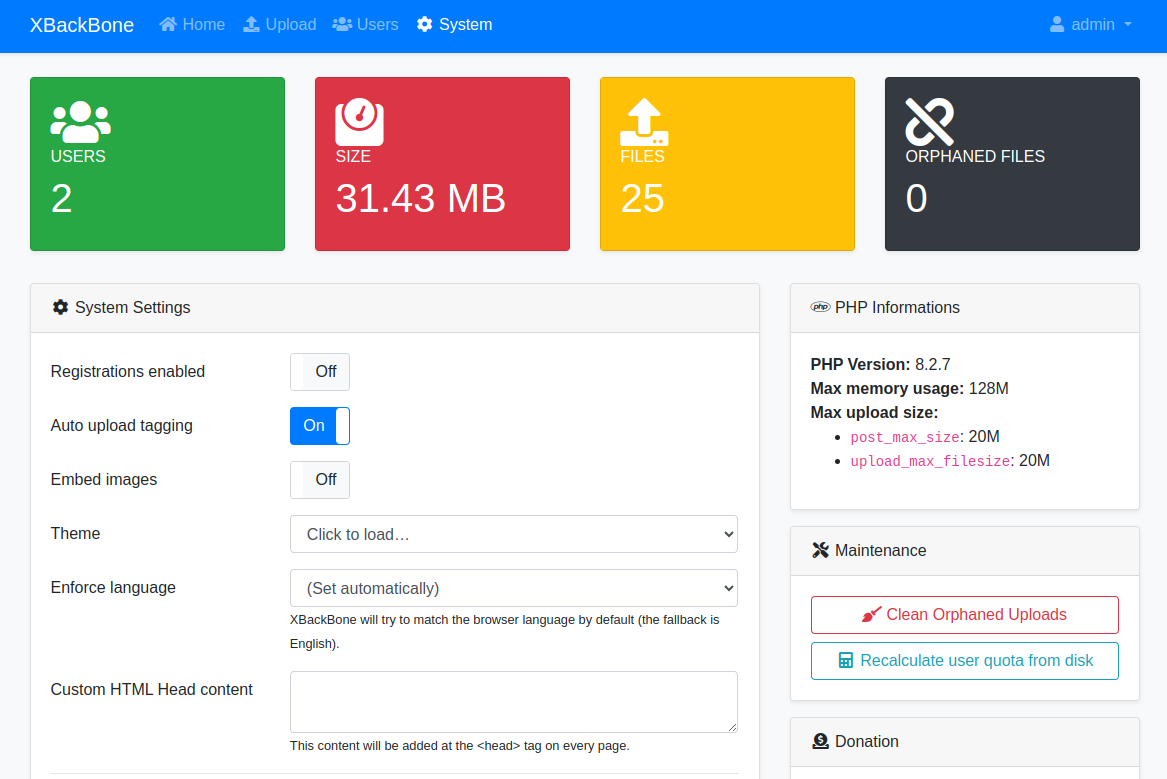
- Admin can set a maximum disk space that each user can take.
- You can set a maximum size for uploaded files (in PHP settings).
- Since it is a self-hosted software, you can adjust the security and privacy of the system. Xbackbone itself has only rudimentary security and privacy features.
- It is possible to tell Xbackbone to transfer files to an external cloud storage, like AWS S3 or Google Cloud, but I haven’t tried this because I wanted to store the files on a server that I can control.
You can’t do this:
- There are no folders or sub-folders in Xbackbone. Tags are the method to organize and find files.
- It is not possible to search files by date. Files can, however, be sorted by date, name, or size.
- Admin can see and access all files saved by users, so users should not upload sensitive data if it is not meant to be seen by other people. Users can’t see other users’ files.
- Xbackbone is not an archive or backup for your files. Rather, it is a fast and easy way to transfer files to other people and to other devices you may have.
How to install Xbackbone
You need the following resources for setting up your cloud file sharing service with Xbackbone:
- A computer that can be accessed from the internet (unless you only access it in the same physical network where you are, like at home or in the office.) An easy solution is to subscribe to a low cost hosting service that lets you install your own software on the server.
- Web server software, like Apache or Nginx.
- Mysql/Mariadb or SQLite database software.
- PHP 7.3 or higher with PHP modules php-sqlite3 or php-mysql, php-gd, php-json json, php-intl, php-fileinfo and php-zip.
I installed Xbackbone on a server running on Debian 12 Linux, Apache 2.4, Mariadb, and PHP 8.2 without problems. Looking at the requirements, Xbackbone should run on MacOS and Windows as well.
All set? Let’s install Xbackbone (this guide is based on Debian 12, Apache 2.4, Mariadb, PHP 8.2 system). The developer’s installation guide is here.
- Assuming you have all the required components (web server, database, PHP) ready, go to Github and download the latest release.
- Under the title Assets, select the release-version-number.zip (in my case, release-v3.6.3.zip).
- Move the downloaded zip file to the computer where you will run the cloud service. Unzip the package into a directory that the web server can access. For instance, the default directory for Apache is often /var/www/html. If you create a directory called xbackbone under html, you can later access it like so: https://your-domainname/xbackbone
- If you are using Mysql or Mariadb, you have to create a database for Xbackbone. Using the command line, login to the Mysql/Mariadb system as the database root user (mysql -u root_username -p), create a new database (create database database_name;), create a user for the database (create user ‘user_name’@’localhost’ identified by ‘password’;), and grant access rights for the user to the new database (grant all privileges on ‘database_name’.* to ‘user_name’@’localhost’;).
- Next, let’s ensure the installed program can access directories it needs during the installation and run time (this concerns Linux and MacOS, not Windows).
- under directory xbackbone/resources, the web server must have write rights to three directories: cache, database and sessions. An easy way to do it is to type on the command line:
chown www-data cache (and the same to the database and sessions)
Here, www-data is the username of the Apache web server. It may be something else for other web servers. - the installation program that will be run next must be able to write to the xbackbone directory:
chown www-data xbackbone - the run time program wants to write log files under the xbackbone/logs directory:
chown www-data logs
Now, we are ready to run the Xbackbone final setup:
- Point your browser to https://your-domainname/xbackbone
- The setup page should appear. Enter the database name, database user name and password that you created earlier.
If everything was correctly set up, login to the system using the default admin account: admin / and the same for password. The home page will appear. Obviously, the first thing to do is to change the admin password.
Problems with installation?
A few things to check:
- Double-check that the web server (e.g. www-data for Apache) is allowed to write to the directories mentioned above.
- Check that all the additional PHP modules listed earlier have been installed.
- Ensure the web server is allowed to run commands specified in the .htaccess file. To enable it for Apache, run the following command on the command line: a2enmod rewrite
- Restart the web server if you made any of the changes mentioned (on Linux: systemctl restart apache2).
- You may also verify that the config.php file has the settings you intended: database, base url and path.
How to increase the upload file size
The maximum file size for file uploads must be changed in PHP settings.
- Find the file PHP.ini in your system (for instance, for Debian with Apache it is: /etc/php/n.n/apache2/php.ini).
- The default max size is often only 2 MB. Find the line
upload_max_filesize = - And change it to your liking, for instance, 100MB would be:
upload_max_filesize = 100M
The use case for Xbackbone
I use Xbackbone for transferring files between laptops, phones, and tablets. I also share files with people I work with and with friends. For some of them I have created accounts so they can upload files our colleagues and friends need.
I stopped relying on Google Drive, Microsoft Onedrive, Dropbox and similar services years ago for privacy reasons and after being locked out from my account a couple of times while travelling. Self-hosting a file sharing service was a decision that has caused a little extra work because I have used software like Nextcloud, Filerun and Seafile, but upgrading these software packages proved to be too troublesome. Also these programs ran into problems when the server operating system had to be upgraded. So, I have given up on them.
Xbackbone file sharing system is not an archive for all the important files, but a fast and easy way to transfer files between mobile devices, computers and people who need the files.