WordPress, Drupal and other powerful content management systems (CMS) are products that can be used to build corporate web sites, online shops, blogs, news sites, and many other types of publications. But if you only need a small web site without fancy features and tons of content, a simple CMS, like Pico CMS can do the job. Here is an introduction to Pico CMS, when to use it, how to install it, and how to get started on creating a web site.
Why Pico CMS?
Pico CMS really is a simple software package. It doesn’t require a database – often the biggest resource hog and component that slows down response times – or other extra software modules. Naturally, a web server is required and since Pico CMS is written in PHP, it must be available as well.
Pages that that provide the content for a web site can be written in any text editor. Each page is saved as an ordinary text file on the server. The default for pages is Markdown syntax, but fortunately HTML can be written as well.
When a visitor requests a page, Pico CMS simply encodes the page in HTML and shows it to the visitor. The response is truly fast because the page doesn’t have to be retrieved from a database and constructed from multiple components.
This is the strength of Pico CMS: it is easy to build small and simple web sites. The response time is really quick for visitors, and Pico sites don’t have same security problems that advanced CMS products tend to have.
This is the weakness of Pico CMS: it doesn’t scale to large web sites (content management without database is impractical) or advanced functionality (weak extension module capability and availability).
The best way to find out if Pico CMS is the right tool for your project is to set up a test system and try it out.
How to install Pico CMS?
Download the software package from Pico CMS web site. Prebundled release is the fastest way to proceed.
Copy and unpack/unzip the package to a directory that your web server can access. For instance, Apache web server’s default is /var/www/html on many systems. If you save the software in a directory like /var/www/html/pico you may access it in a browser by typing localhost/pico (if it is on your local computer).
To test the configuration, point your browser to the directory where you saved Pico CMS, for instance: localhost/pico
If it doesn’t work, the following settings must be checked:
- The default Apache conf file is saved in /etc/apache2/sites-available/000-default.conf. Make sure redirections are enabled:
<Directory /var/www/html>
AllowOverride All
</Directory> - Apache rewrite module must be active. Type the following on the command line:
a2enmod rewrite
Then, restart Apache. - I also had to make the web server user (www-data for Apache2) as the owner of Pico CMS directories and files ( chown -R www-data picodirectoryname ).
Now, you should be able to access the Pico welcome web page in your browser.

How to create and publish a web site?
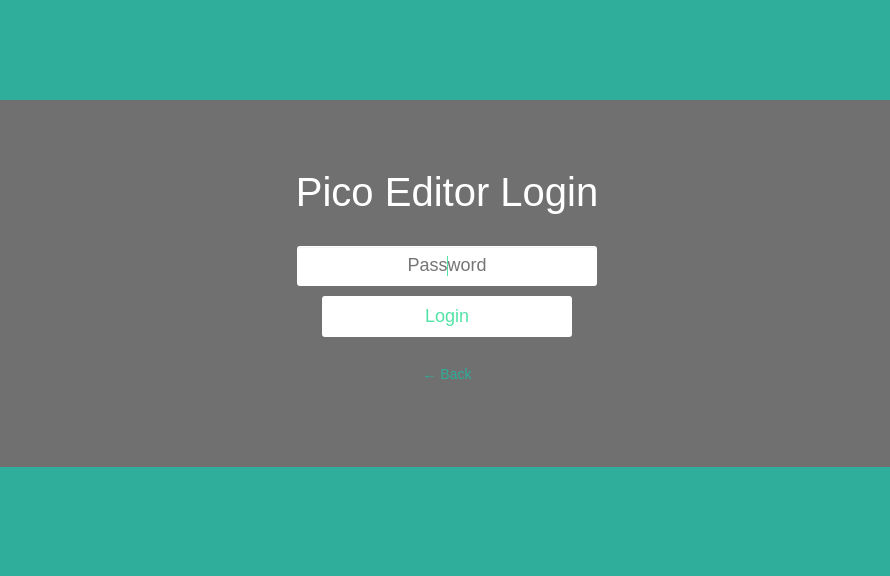
First, you may want to install a page editor plugin to make quick modifications to pages. There are many editors available, I installed this one:
https://github.com/astappiev/pico-editor
Follow the plugin instructions for installing it.
When you create your first pages, save them in content directory under the Pico main directory. There are more options, like subfolders under content, but that’s a good start.
Next, you may want to install a theme that specifies the layout and colors for your pages. Follow the theme instructions for installing it. A working theme is a good starting point for customizing your own layout, and for learning twig syntax that themes have to use.
If you want multicolumn layout, or a fancy menu system, choose a theme that has the required feature, and work from there.
These are the basic building blocks for creating a web site powered by Pico CMS. Completing these steps takes you a long way towards a robust and fast web site that can be published to the world.
