
This how-to guide covers the manual installation and configuration of Nextcloud 17 software so that you can run its out-of-the-box functionality. You can add more functionality, like cache, extra security, and applications after the basic installation is up and running. Nextcloud can be used as a personal, secure cloud server. In many cases, the basic installation goes a long way for personal servers.
Other installation methods are available (instructions here), but so far, manual setup is the only one that has worked for us.
If you already have a Nextcloud installation running, you can follow the upgrade to version 17 guide in this article.
Nextcloud describes itself as the self-hosted productivity platform that keeps you in control. What does it mean?
Nextcloud is open source software that is free to download and use. The company behind the core software, Nextcloud Gmbh makes money on services that organizations need when they deploy their own cloud services. There is also a large independent community that develops apps for the cloud software platform.
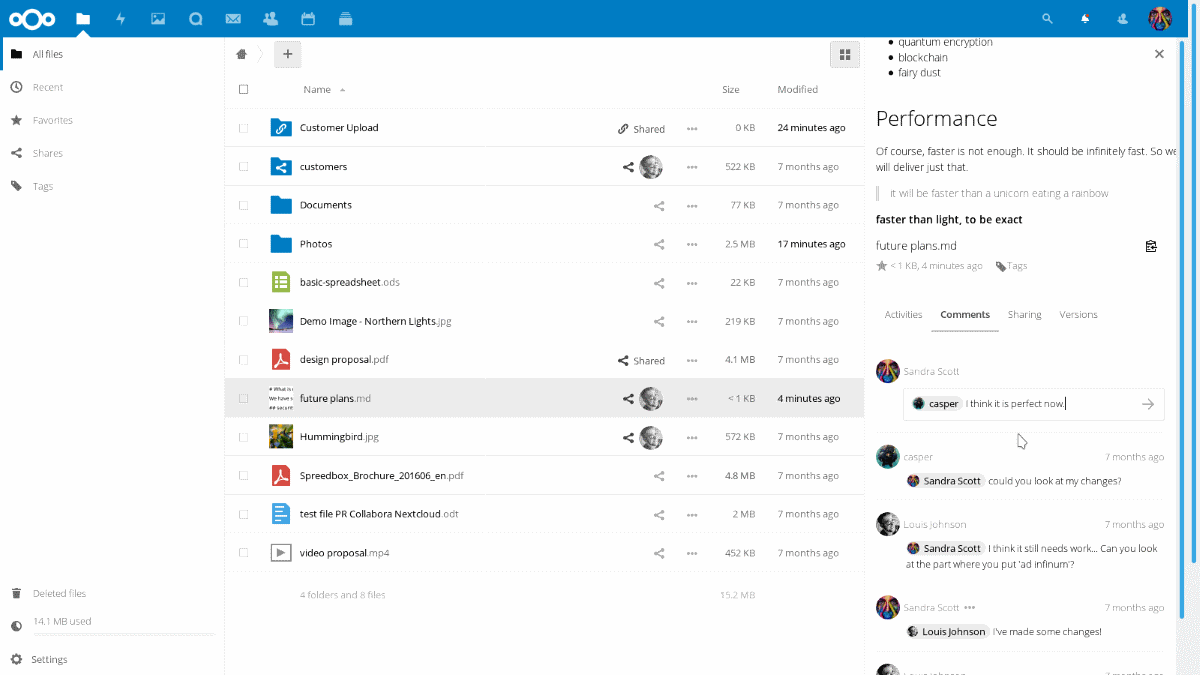
That is exactly how I like to describe Nextcloud: it is a platform. The core software provides a secure Dropbox-like server that you can host yourself. You have control over the server’s security and privacy. You have control over who can access it. You have control over the data the server stores. Free PC and mobile applications let you automatically sync the files you want to the server and to the devices that are running Nextcloud apps.
Since it is an open software platform, anyone can build additional functionality on top of it. That’s where apps like calendar, email, project management, maps, and many other useful pieces of software add features to Nextcloud.
But first, our priority in this guide is to get the Nextcloud 17 software installed and running, and then you can explore how to make use of it beyond the core platform functionality.
LAMP (Linux, Apache, Mariadb, PHP) for Nextcloud
Before we even touch Nextcloud, database and other required software components should be installed and running:
- Apache 2
- Mysql/MariaDB
- PHP 7 (7.1, 7.2 or 7.3)
- PHP modules are required as well. The full list is available here.
If PHP modules are missing from your system, for instance, on Debian you can install them like so (if you have PHP 7.3):
apt-get install php7.3-curl
 apt-get install php7.3-bz2
 apt-get install php7.3-intl
This guide was written using a system running on: Debian 10, Apache 2.4.38, Mysql Ver 15.1 Distrib 10.3.17-MariaDB, PHP 7.3.9. Nextcloud was version 17.0.0.
Apache web server configuration for Nextcloud
Apache configuration must be modified in the Virtual Host file that points to your Nextcloud installation. In the example below, Nextcloud has its own domain and Virtual Host file, perhaps named mynextcloud.conf, located in /etc/apache2/sites-available. These lines must be inserted into the conf file.
Alias /nextcloud "/var/www/nextcloud/"
<Directory /var/www/nextcloud/>
  Require all granted
  Options FollowSymlinks MultiViews
  AllowOverride All
 <IfModule mod_dav.c>
  Dav off
 </IfModule>
 SetEnv HOME /var/www/nextcloud
 SetEnv HTTP_HOME /var/www/nextcloud
</Directory>
It is perfectly fine to install Nextcloud in a subdirectory of an existing domain, like /var/www/mydomain/nextcloud/. In this case, you have to insert the section above into the Virtual Host configuration file of mydomain.conf.
Changes in Apache configuration require a reload or restart:
systemctl restart apache2
Create a database for your Nextcloud server
Nextcloud and apps running on the platform store their data on a database (files are stored in Linux directories). If you are running a Mysql/Mariadb database, start the mysql tool that lets you create a database, and assign a default user for it. You will need these names in the setup wizard later.
Download Nextcloud software
If you haven’t downloaded the actual Nextcloud software package yet, now is the time to do so. Download the package, unzip and copy the entire structure onto your server in a directory where you want to run it.
Modify access rights
Nextcloud will run as a user www-data in your system. It means that the Nextcloud files and directories must be accessible to this user. The command below does the trick (you must be root user to run it):
chown -R www-data:www-data /var/www/nextcloud/
If you are installing Nextcloud somewhere else, like /var/www/mydomain/nextcloud type that path on the command line.
Run the Nextcloud setup wizard
After all the preparations and hard manual configuration work, you can let a setup wizard do some of the work for you. To start the setup wizard, point your web browser to the Nextcloud installation: mysite.com or mysite.com/nextcloud
(or localhost or localhost/nextcloud – depends on your server). In some cases, mysite.com/index.php or localhost/index.php has been required to start the wizard.
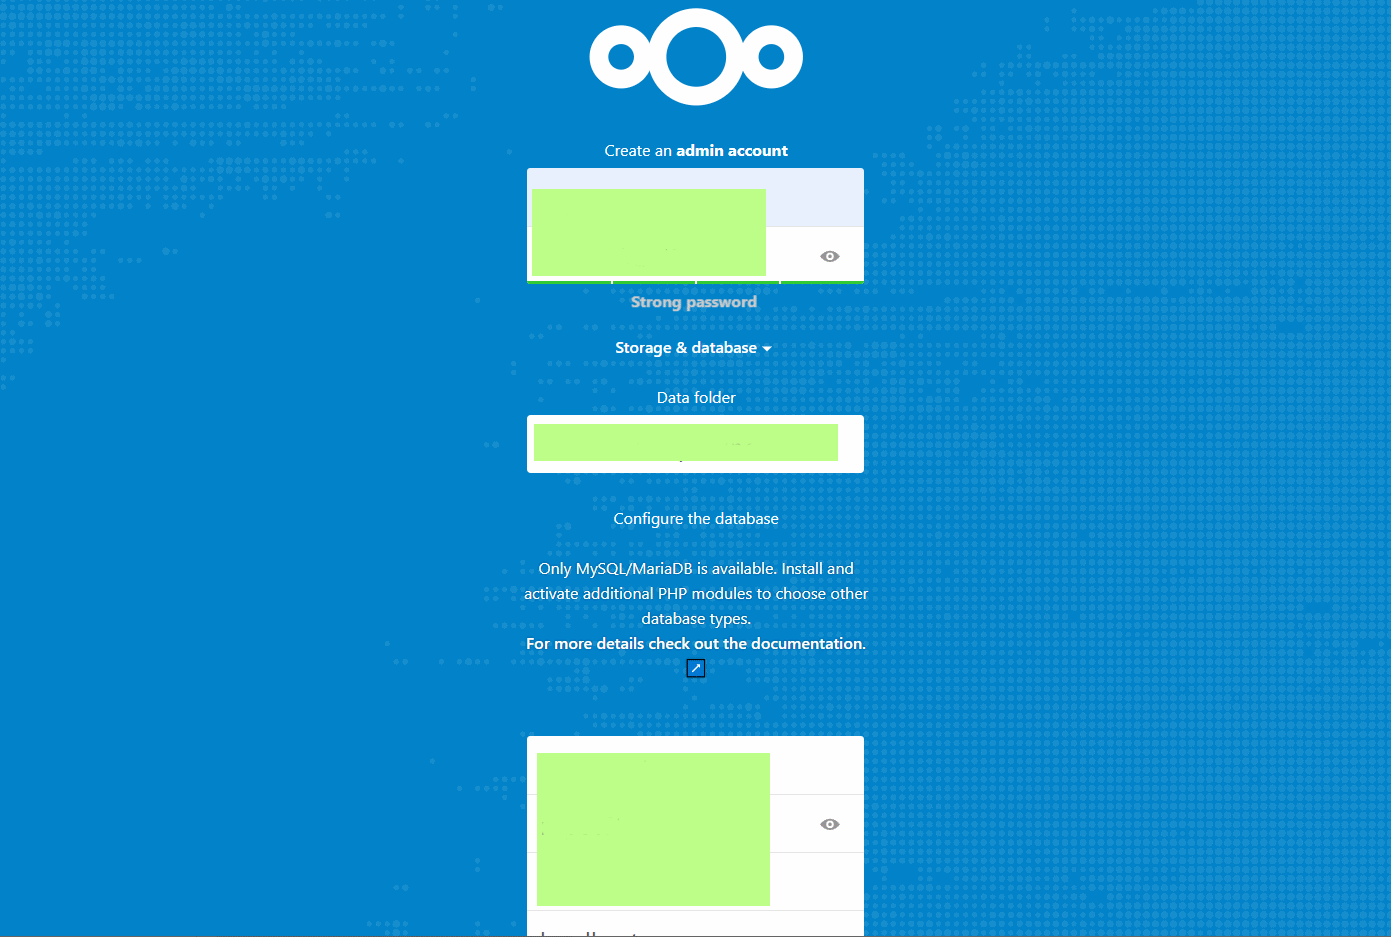
If the blue Nextcloud screen is displayed, you are there!
Create admin user and password for your cloud server. Fill in the database information. Confirm the settings. After awhile, you should be logged in to your shiny new cloud server.
It is time to celebrate, but pretty soon, you need to check the following items.
Check the Nextcloud settings in the admin panel
When you are logged in as an admin to your cloud server, click on your profile icon at the top right corner of the panel.
Click Basic Settings on the column on the left. Let’s change the background job run method to the recommended cron job.
Under Background Jobs, choose Cron. You have to create an automatic cron job that manages the background tasks for Nextcloud.
Open Terminal program to access the server. To make sure you have enough access rights, login as root or su as root. Enter command:
crontab -u www-data -e
This opens up an editor that lets you edit cron jobs for the user www-data (the user that runs Nextcloud tasks in the system).
Insert the following line as the last line into the file. Save and exit the editor. */5 * * * * php -f /var/www/nextcloud/cron.php
If your Nextcloud installation is located in another directory, modify the path accordingly. The cron job will rune every 5 minutes. If your Nextcloud is for personal use or you expect low traffic, a less frequent run interval works as well.
Let’s continue to the Basic Settings – Email section. Let’s test the server’s email system with Nextcloud . For instance, my Debian 10 system included Exim4 email server that I had already tested that it worked. I only had to select Sendmail from the Send Mode list in the admin panel, and send a test message to confirm it works with Nextcloud.
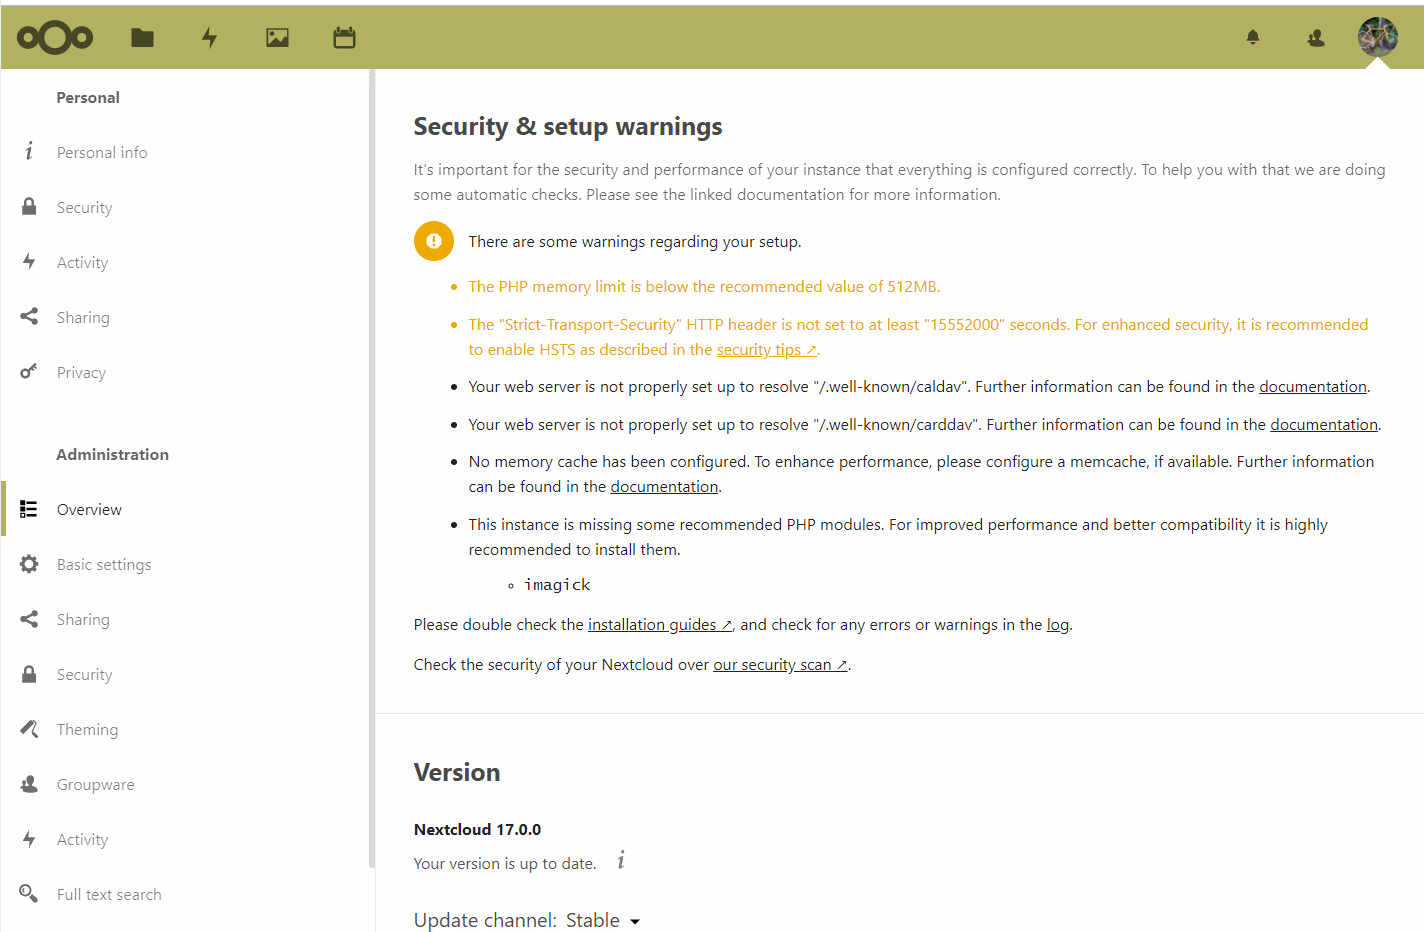
While you are at the admin panel, click on Overview that is right under the Administration heading on the left. Nextcloud will run a few tests and report its findings.
More things to do
Update or install the latest Nextcloud mobile and PC apps. Old versions of the apps may not work with version 17.
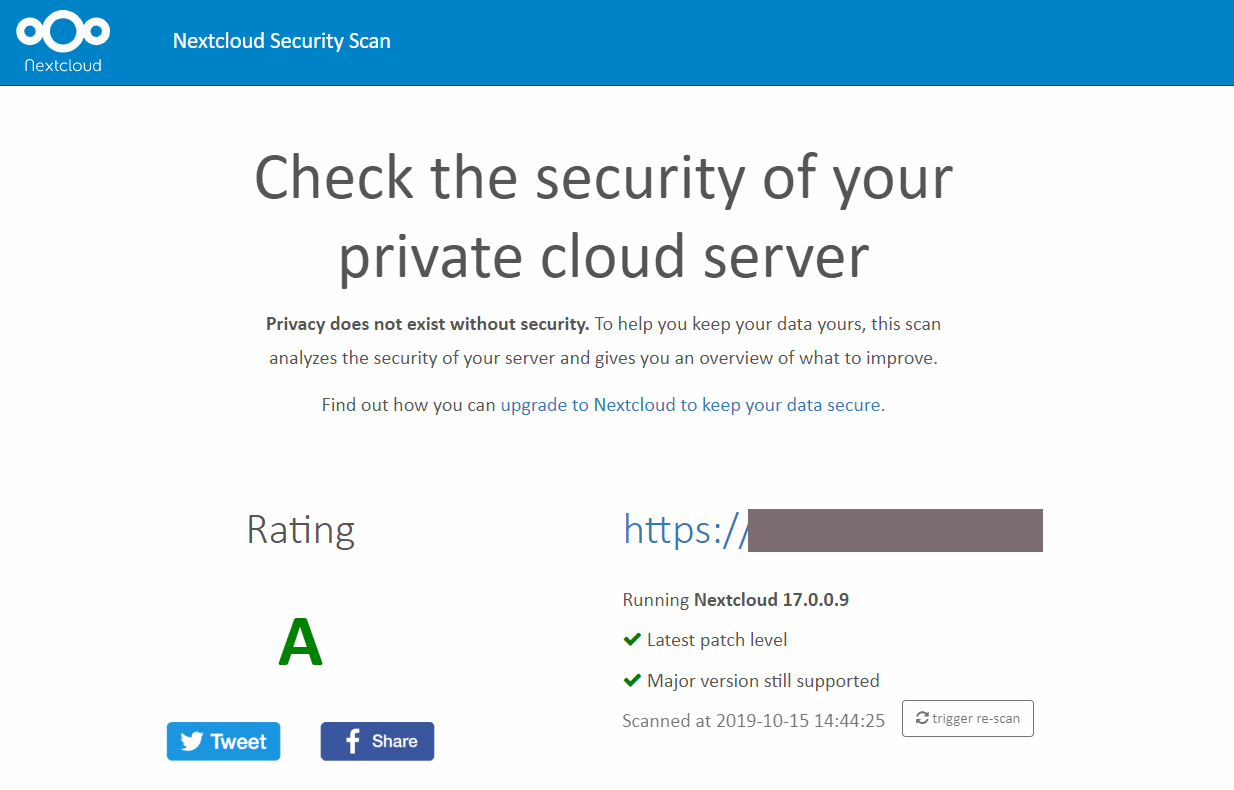
A quick security scan is available at https://scan.nextcloud.com.
Two factor authentication is a smart thing to have for a server that stores personal or other sensitive data. Nextcloud can be configured to enforce two-factor authentication feature.
Acquiring and activating an SSL certificate for the domain that hosts your Nextcloud server enables completely encrypted connection between all devices and the server. A good place to start is to try out EFF’s Certbot. Nextcloud can be used fine without a certificate, but if your server is accessed via the public Internet, all the data and passwords are transmitted as clear text if not encrypted.