
My problem with email used to be that I had to manage multiple email accounts because of multiple job roles I had. Since I only use webmail for getting access to all my inboxes and outboxes from any device, I needed a server software that could bring all my email accounts in one place. Rainloop was the solution. It lets me access all email accounts in a browser, while the messages are safely stored and backed up on servers.
Rainloop is an email software that provides a nice and simple, but highly functional web browser user interface for email accounts. Rainloop runs on a computer that is powered by a web server (Apache 2 or Nginx) and PHP. I have installed Rainloop on a number of Debian Linux servers and laptops without problems. The resource requirements for the software are light, because it doesn’t store email messages, but acts as a user-friendly interface between you and your email servers.
Rainloop has a key restriction that wasn’t evident before I tried to connect it to one of my email accounts: the software can only access IMAP email systems. This means that if you have an email account with, for instance, OVH and another account with Godaddy, you are able to access the OVH email account in Rainloop, but not Godaddy. This is because OVH provides IMAP access, but the basic Godaddy email only has POP access.
That said, Rainloop makes my life so much easier that I have moved my email accounts to a hosting company that provides IMAP protocol for email. Gmail and Outlook, among others, email accounts can also be integrated into Rainloop webmail.
Rainloop is open source software, free to download and free to use for non-commercial use. Some features require the purchase of a license, but the free Community Package has all the necessary features (for me, at least).
If you want more user-friendly and better-looking webmail than your current web mail, or you want to manage all your email accounts in one place, here are the installation and configuration instructions for Rainloop.
Installation
The following installation method has been successful on Debian 8 and Debian 10 Linux with Apache 2.4. Rainloop’s system requirements are listed on this page.
If you have a dedicated domain for your email central, create a directory for it, for instance:
mkdir /var/www/myloop
You can also install it under an existing domain, for instance:
mkdir /var/www/domain/myloop
Either way, ensure that https connection is activated for the new email central.
Now, go into the new directory you just created:
cd myloop
and download and install the software package into the directory:
curl -sL https://repository.rainloop.net/installer.php | php
The output should be something like:
[RainLoop Webmail Installer]
- Connecting to repository …
- Downloading package …
- Complete downloading!
- Installing package …
- Complete installing!
- [Success] Installation is finished!
Configuration
First, you have to let the web server know about the new program.
If you are running Apache2, edit a Virtual Host file in /etc/apache2/sites-available to connect to Rainloop. If your Rainloop installation has its own domain, you have to create a new virtual host .conf file for it.
Activate the new virtual host:
a2ensite
and reload Apache:
systemctl reload apache2
Don’t forget to install a certificate for secure https communication!
If you are going to access Rainloop under another domain, you may skip Apache configuration (it depends, but in many cases it just works).
Next, let’s examine the Rainloop admin panel. Point your browser to the Rainloop Admin Panel (type your own domain name instead of myloop):
https://myloop.com/?admin
or, if you have it under another domain:
https://another-domain.com/myloop/?admin
Since this is the first login, you have to use the default admin account (user is admin, and the secret word is digits from one to five). You should see the Admin Panel like below.
In the Admin Panel, the first thing to do is to change the admin name and password. Click Security on the left pane to change the login name and password.
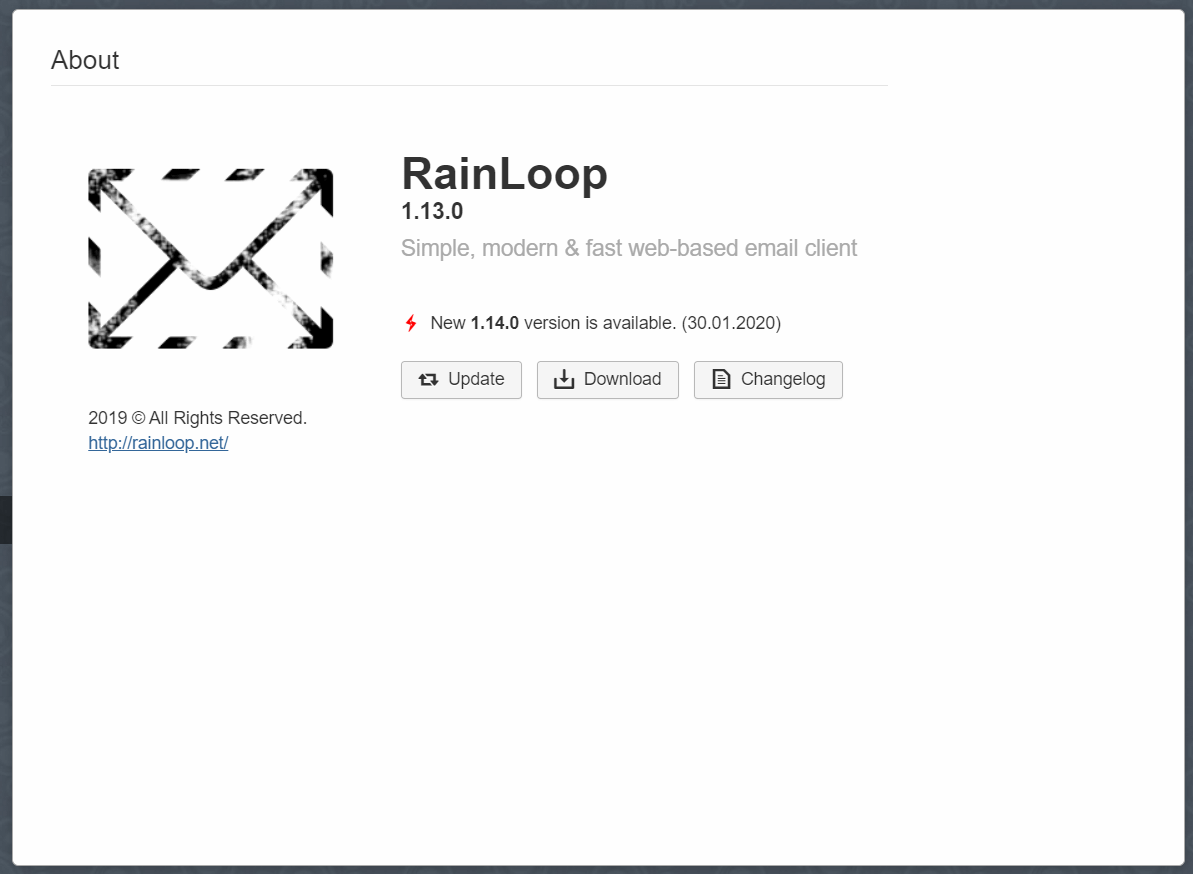
Next, click About at the left column. It shows the software the version. If it isn’t the latest, hit update.
Email setup
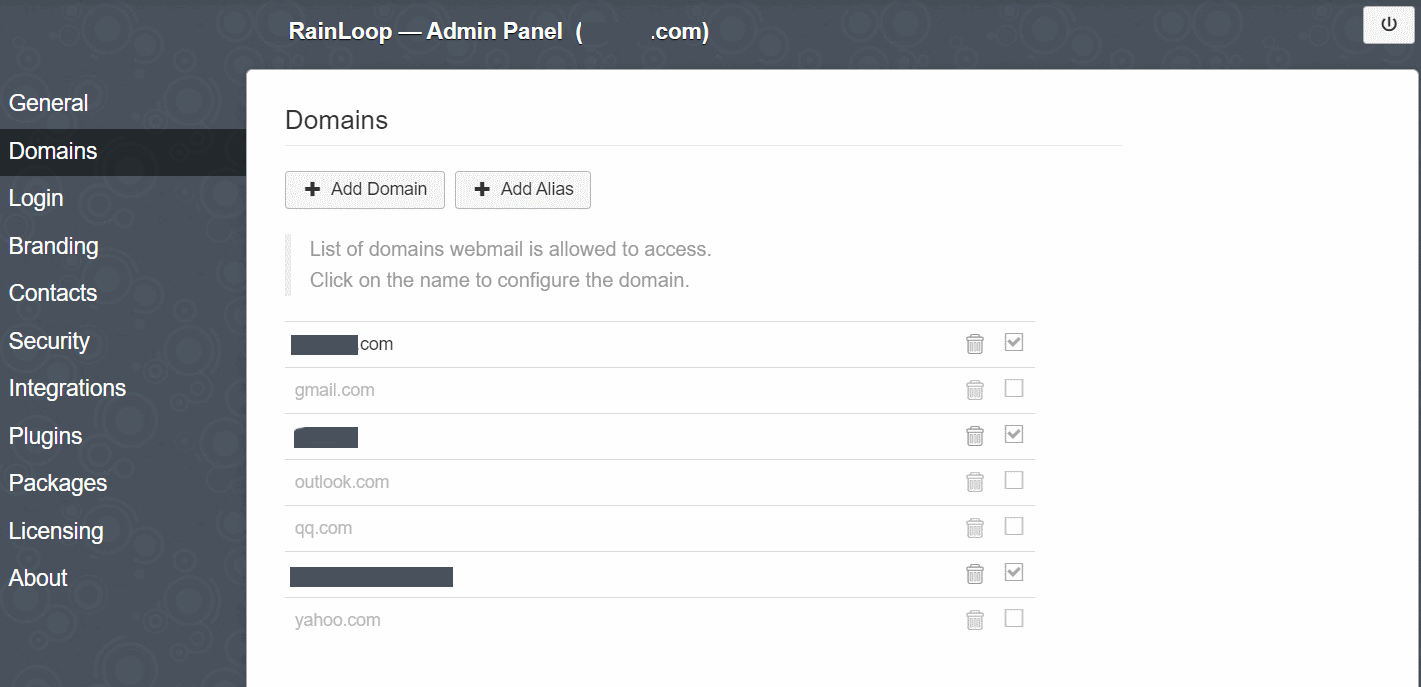
In the Admin Panel, select Domains on the left pane. This is the section where access to existing mailboxes is configured. Click Add Domain to connect Rainloop to an email account.

Fill in the required information for incoming IMAP email and outgoing SMTP messages. Your current email service provider has documented the required information, and it is usually available on the support web pages, or you can look it up in your current email settings.
Push Test button to see if Rainloop can access the email server. Click Add button to save the settings.
Once you have added all email accounts you want, logout from the Admin Panel by pushing the switch button at the top right corner.
Accessing email accounts in Rainloop
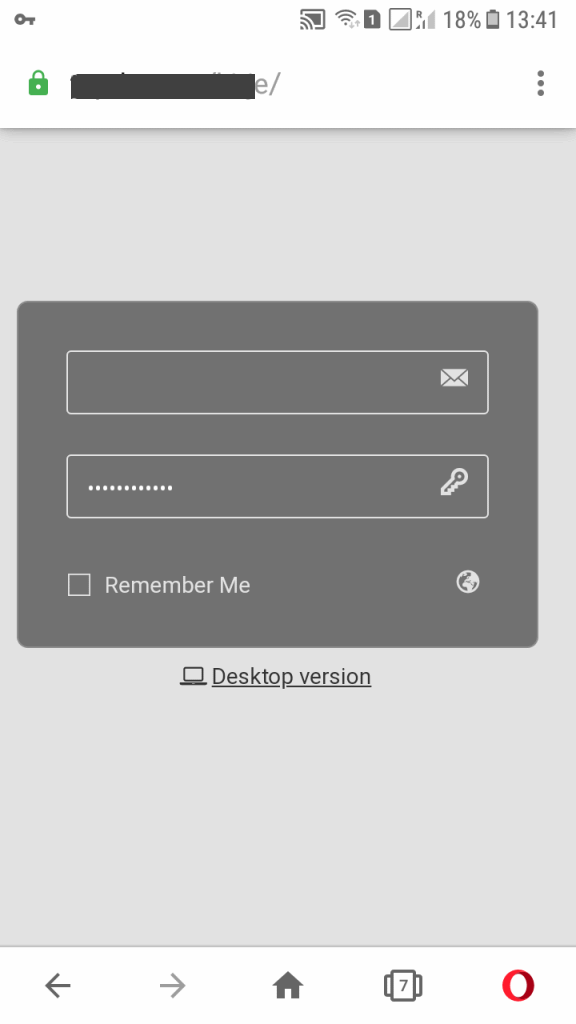
Point your web browser to the Rainloop installation (for instance: myloop.com or another-domain.com/myloop)
Login to any email account you just created in the Admin Panel. Your email address and password are the same as they have always been – Rainloop passes them on to the email server.
Once logged in to an email account, you can add other email accounts into the same browser window. At the top right corner, click the profile icon, and select Add Account.
You can also open a separate browser tab or window by right-clicking the profile icon, and selecting New Tab or New Window.
Your new email center is ready. Rainloop has settings for tweaking background images, colors and other things, but first things first: check the security settings next.
Security considerations
Accessing any webmail system should always require secure communication via https. Otherwise, passwords and messages are traveling on the internet as clear text. Let’s Encrypt Certbot is a free option for certificated if you don’t have one yet.
Since webmail is usually on the public internet, it is a good idea to protect the login from hacking attempts. An option is two-factor authentication. Open the Rainloop Admin Panel, click Security on the left pane, and activate two-step verification.
A relatively easy (although not considered rock-solid secure) way to add two-step authentication is to create a htpasswd for the Rainloop directory. It means that when someone tries to login to your Rainloop webmail system, the web server prevents it, and asks for a user name and password. Only after the web server is happy with the provided name and password, it lets the user proceed to Rainloop email login.
Rainloop keeps reminding in Admin Panel that data directory is unprotected, but if you have activated htpasswd or another two-step authentication, you are good to go.